delishiono.blogspot.com is now a domain
Please visit me at www.delishiono.com
Thanks!
michelle [ at ] delishiono [ dot ] com
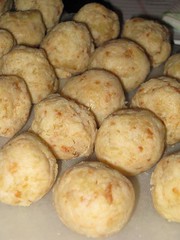
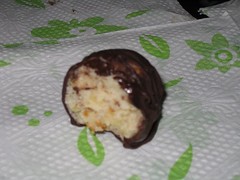
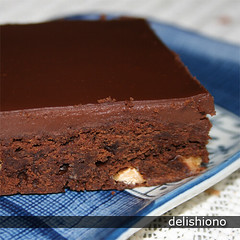
Michelle's Cake Balls
Adapted from this recipe from All RecipesCrumble cake in a bowl
- Cake (any flavor, any size)
- Frosting (any flavor)
- 12 oz bag of chocolate chips
Add frosting and mix with crumbled cake until it is the consistency of cookie dough
Let cake and frosting mix chill for 1 ~ 2 hours
Shape about 2 T portions into balls and place on wax paper
Freeze balls for about 2 hours until firm
Melt chocolate in double boiler
Dip frozen cake balls in chocolate until well coated and place on a wax paper surface.
Refrigerate dipped cake balls for 1 ~ 2 hours until the chocolate is firm and the cake is no longer frozen.
Best enjoyed with a glass of milk or coffee ;)
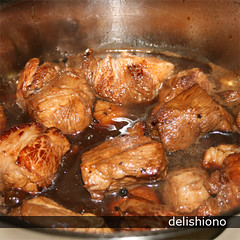
Fair Style Sausage Rolls
Makes 8
- 1 box of pre-made puff pastry
- 1 pack of pre-cooked British-style sausage (Bangers)
- 1 egg, beaten
Preheat your oven to 400F
Cut your sausages in half lengthwise and remove the casing. Thaw your puff pastry as recommended on the box. When thawed, unfold and wrap each sausage half in pastry, pinching the edges to seal.
Line a baking sheet with parchment and then place pastry wrapped sausage onto the parchment. Brush the tops of the wrapped sausage with egg wash and bake for 20 minutes until golden brown. Cool for a few minutes before enjoying. These can be served warm or at room temperature.
To reheat refrigerated cooked sausage rolls: Bake at 300F for 20 minutes.
Batter add-insI confess: I use a ready made mix for the okonomiyaki batter. Just add water. Since I've always done okonomiyaki for parties, I haven't really had the opportunity to experiment with non-ready made okonomiyaki mix lest it come out icky. The most important ingredient in the okonomiyaki batter is the 山いも (yamaimo) or mountain yam. It is what gives the okonomiyaki its texture and taste.Meat
- Cooked bacon bits (optional)
- Shredded cheese (optional)
- Baby shrimps (optional)
- Tenkasu/tempura bits (optional)
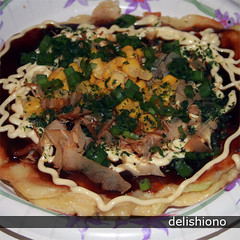
Toppings
- Bacon (thin sliced)
- Beef (thin sliced)
- Sausage (thin sliced)
- Spam (thin sliced)
- Okonomiyaki sauce
- Kewpie Mayonaise
- Aonori (seaweed flakes)
- Bonito flakes
- Chopped Green Onions (optional)
- Shoga (pickled ginger)
- Corn kernels
Scoop a ladle full of batter into the bowl
Add one egg
Add some cabbage or kimchee (or both)
t plate with a good amount of cooking spray and spread the batter evenly.
While the batter is cooking, lay a few pieces of the meat (bacon, sausage, spam, etc.) onto the cooking pancake.
Let it cook on the first side for about 3 minutes and then flip (carefully) and cook on the other side for about 3 to 4 minutes to make sure that the meat is completely cooked. Feel free to squish the pancake every now and then to make sure it's cooked
Fry up an okonomiyaki like you usually would
Next to it, fry up an over medium egg.
Remove the okonomiyaki to a plate. Top with a generous amount of yakisoba. Top the yakisoba with the egg. Top the egg with the various okonomiyaki toppings of your choice.
Pig out and then roll around in the blissful, carb induced coma that you'll find yourself in later.